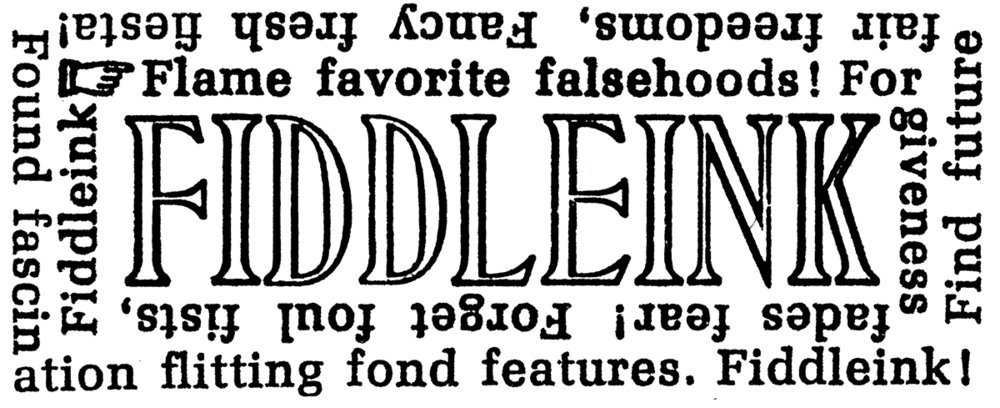
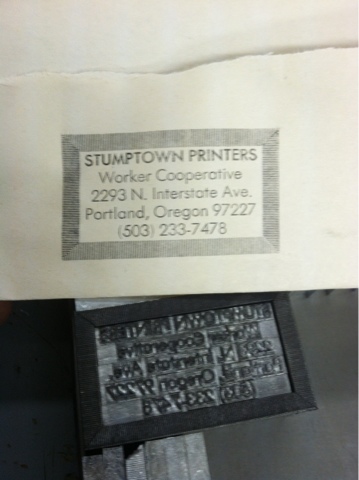
I've been practicing mitering Linotype border using the Hammond glider saw. I almost took out a window here at Stumptown Printers when the miter vise clamp wasn't tight enough and a slug got away from me. Won't make that mistake again.

Proofing 10^440
Looking pretty clean so far. This type form will be used for a limited edition keepsake broadside celebrating 11 years of the Stumptown Printers' Arigato Pak.
Russian Made Linotype in Action
This is a great little video of a Russian made (?) line casting machine. Thanks to Bill Spurling for passing on the link. Check out the safety guard that flips into place over the mold and vise before casting.
Linomite
I noticed a slight little build up of type metal on the pump plunger rod when I started casting this evening, and after a couple hours of casting lines this is what that build up became:

Linomite! It was enough to restrict the plunger from returning to its fullest upward position. Gotta keep an eye on this next time. I'm guessing that this happened because the pot was a bit too cool. I'll test the theory next time we cast. Otherwise, anyone out there have tips on how to prevent this?

Ancient compositor's knot
This is a set of space bands lovingly tied up by an operator of the Stumptown Printer's model 31 long before we owned the machine. It's an example of marlinspike seamanship by an old Linotype salt. I hadn't had the heart (or need) to disrupt this tidy knot before today, but we needed the bands and so this is the documentation of the touch of a craftsman from years ago. We brought the bands to the C.C. Stern Type Foundry to use with the machine there. I believe that the old salt would approve.
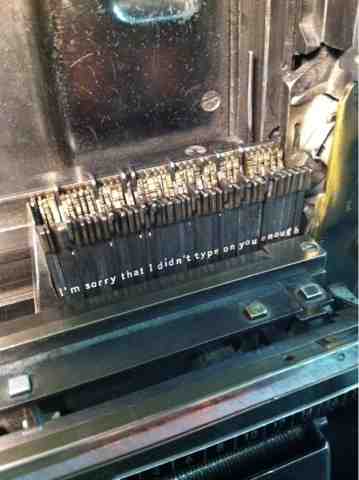
Today's message to the model 31
I managed to get a couple lines off of the machine today, but printing, die cutting, hand bindery and prepress took the lion's share of shop time. I don't like to fire up the machine unless we have at least a handful if slugs to cast. Next time...

The properly justified slug

Got it! The properly justified slug
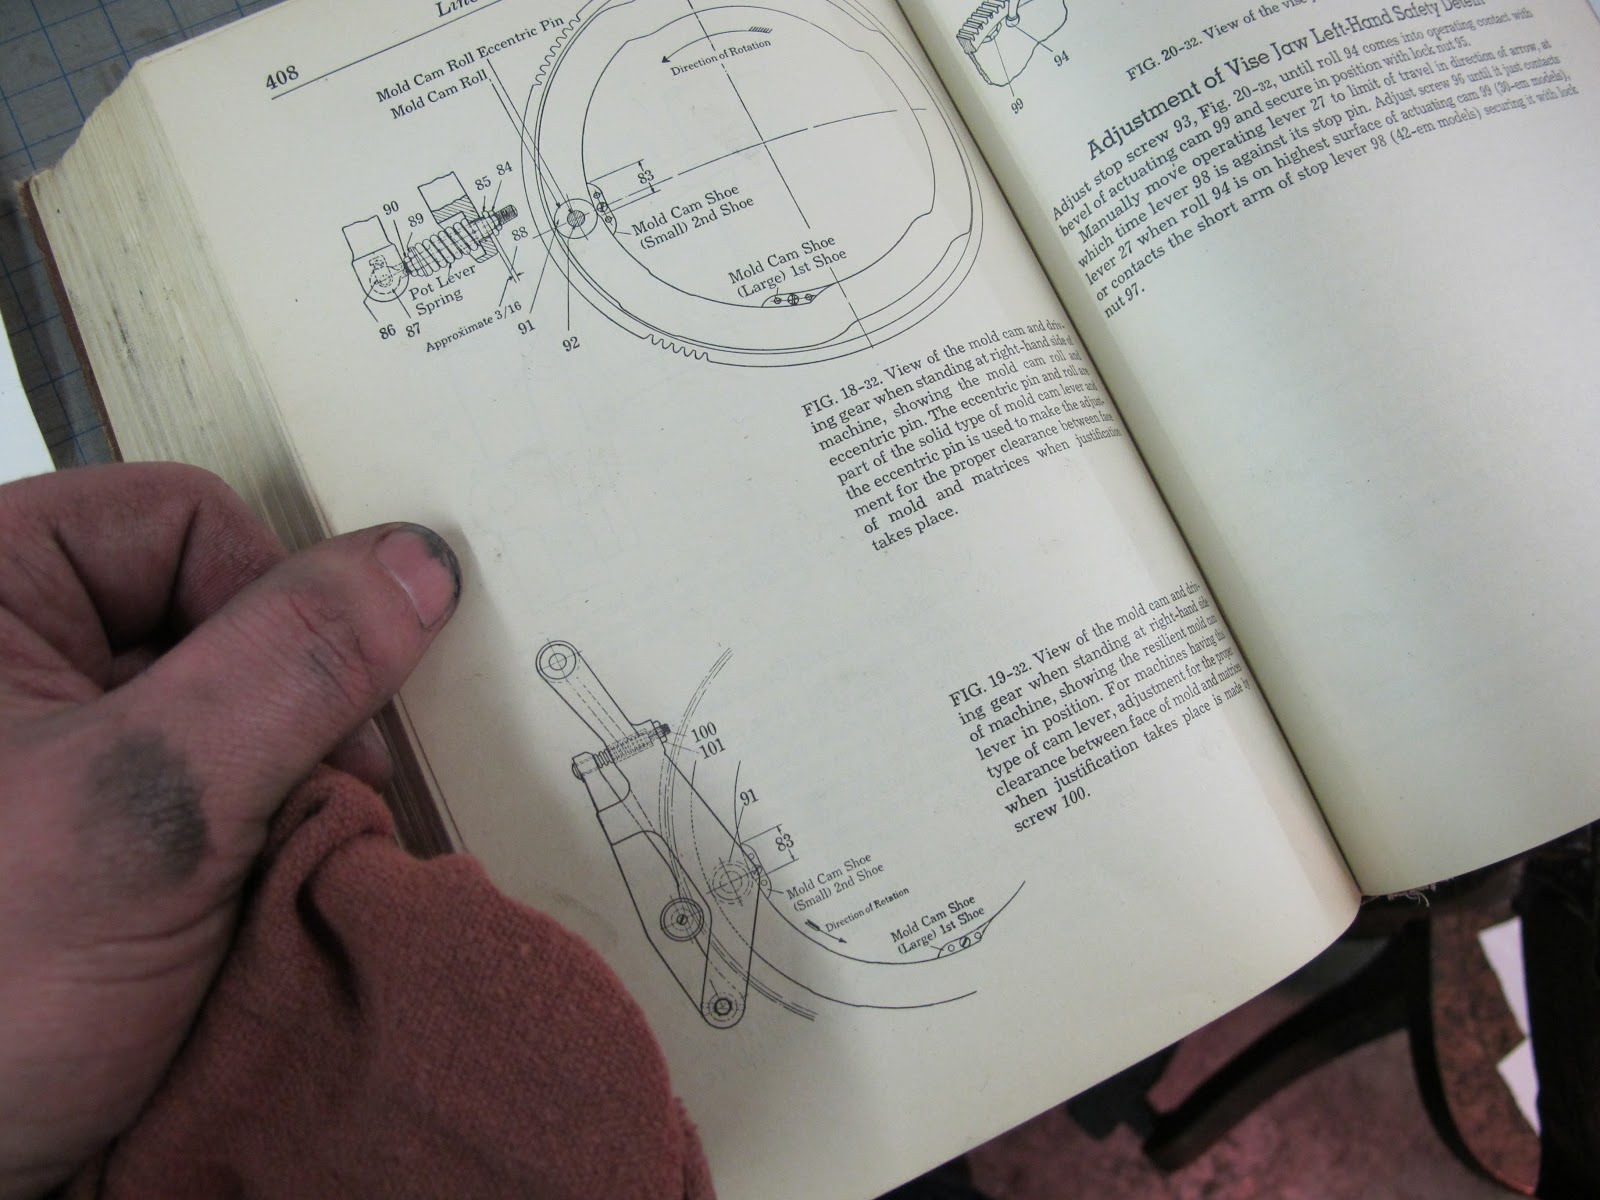
Resilient Mold Cam Adjustment

Resilient Mold Cam Adjustment

Teachers
Consulting with the teachers

Handy Illustration of First-Elevator Cam
This illustration is a useful reference if you are in the back of the machine and cycling it by hand, and you need to know when to stop cycling(!) By looking at this cam, you can determine when the first elevator is resting on the vise cap, or when the justifications take place, etc. This illustration is scanned from the Intertype Book of Instruction, page 46.
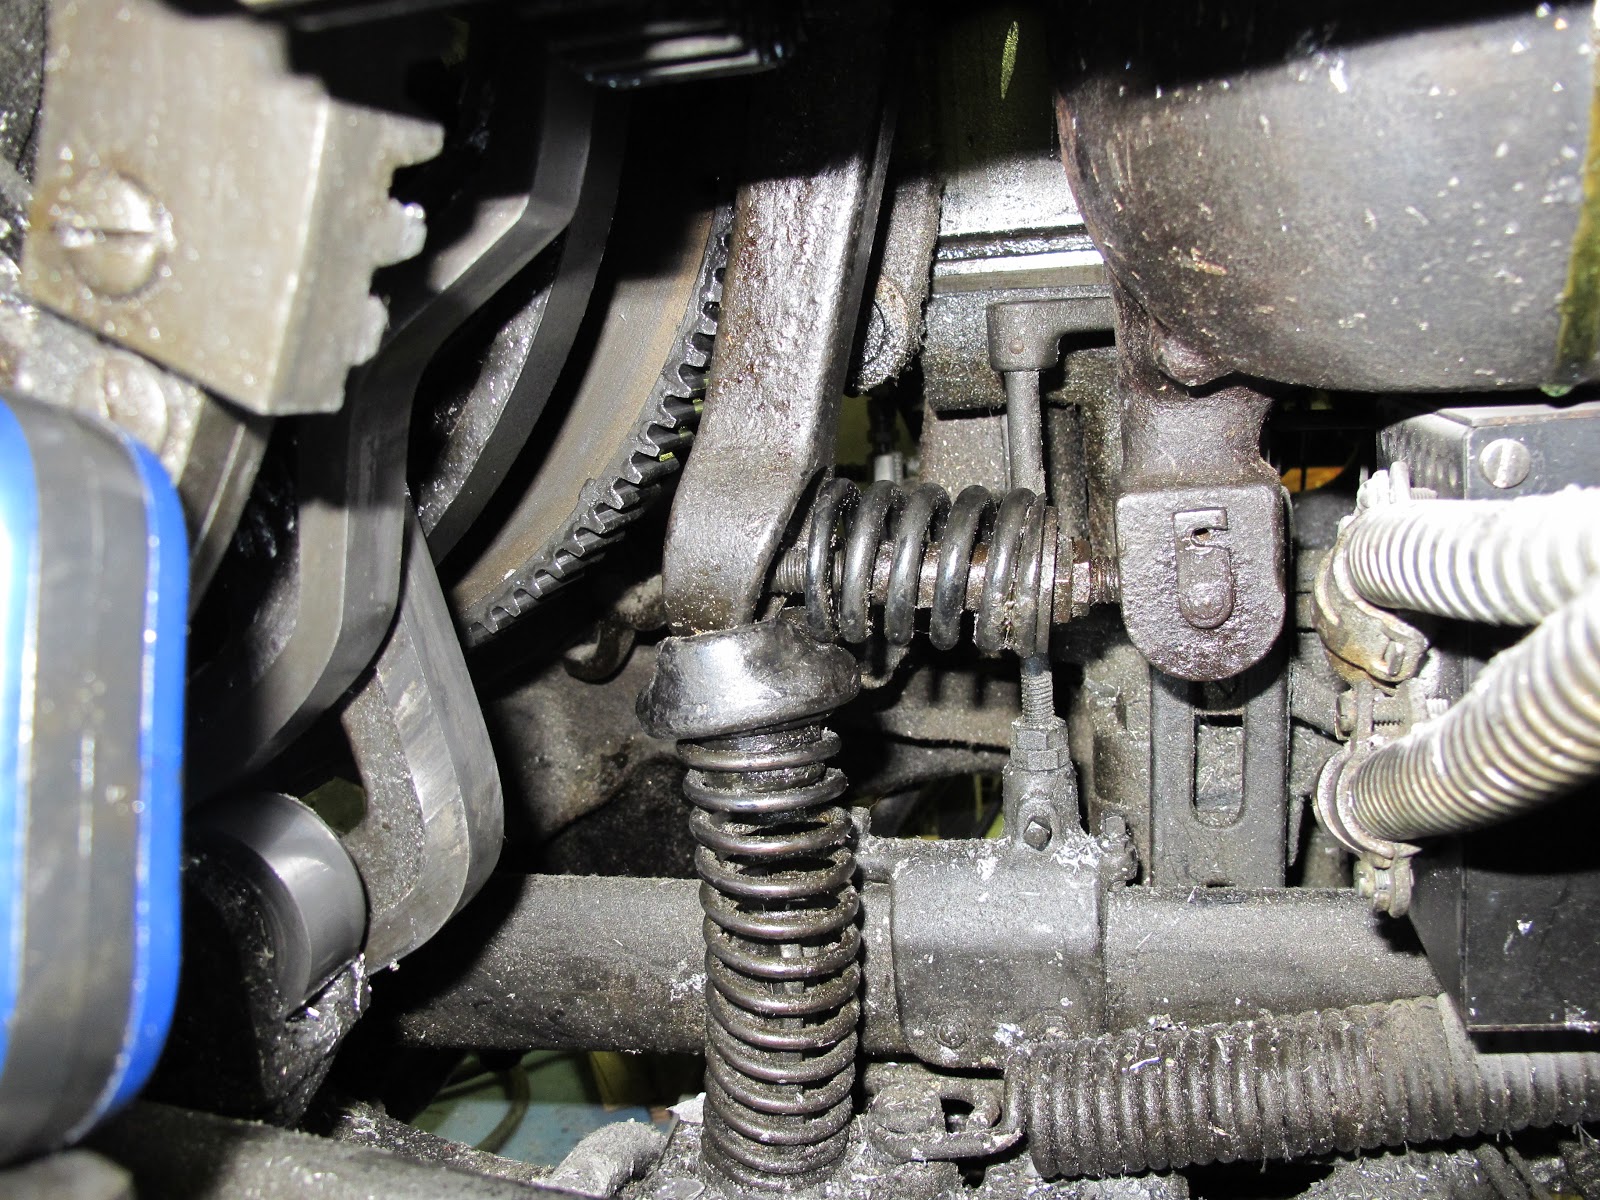
Release the pressure of pot lever spring


Still trouble shooting - But first! Release the pressure of pot lever spring!

Testing proper clearance between the face of the mold and vise jaws
Still Trouble Shooting. Testing proper clearance between the face of the mold and vise jaws
Page 150

Hydraquadder causing the problem?
Trouble shooting....

The Trouble Line

Occasionally while running the machine, I've experienced a "no cast". This happened randomly, or at least it seemed to be random, because after a second attempt to cast the same line often the machine would give in and produce the slug. When it didn't cast a second time, I would switch it up slightly and maybe add a thin space, etc. and I could get it to go. It didn't happen frequently enough for me to explore the issue until recently. The line pictured above is the one that stopped me and got me to look into the problem.
In this case I was setting 10pt on 10pt mold, 18 pica width, first position. I was using standard justification with the hydraquadder off. As you can see, it's a full line, 6 space bands with less than a pica to go. I sent the same line through as it is pictured (but recreated with different matrices) several times. No go. Other lines that seemed to be similar length and spacing did go, so it was a mystery to me why this one would not.
More details to come....

Linotype Drive Belt
I'm in the process of tracking down belt material for the main drive belt. I stopped in on our local supplier Empire Rubber where the crew there presented me with a bunch of great info and options. Good guys and a good resource. With their help, I should be able to match the lacing and material.
Update:
The belt that I ended up using was:
Empire Rubber's item number: 20045012
Description: 4/140 II Tan FSxFS 1.5" W
Flexco Clipper Lace was used, added to trim length of 79.5"
Friend Ivan Snyder giving the Linotype a go
Friend Ivan Snyder giving the Linotype a go a video by Stumptown Printers on Flickr.
Here's our pal Ivan Snyder sitting at the Stumptown Printers Linotype. This guy has volunteered more time, sweat, muscle, know-how, equipment, etc. to the current Portland printing community than any one I know. He has helped usher in a new generation of Portland letterpress printers who appreciate the real deal and love working with metal type. Thanks Ivan!

Close Up Of Litter Poems Proof 1
Another photo from our Flickr archives. These lines were cast shortly after rebuilding the keyboard (the first time). What a thrill to pull these proofs and get satisfactory results from the machine for the first time!

Bicycle Transportation Alliance pin packaging
Printing from slugs cast on our Linotype. Spartan Book 10pt and 12pt. Looks fairly clean here, but as I recall we had to spend a bit of time removing hairlines.
Notes to self: inventory mats before running
Tonight I tried running new-to-me mats. I have a better idea of how many mats fit in a half magazine, because I discovered that I had way too many. I bet there is a lower case "e" count that would allow one to quickly determine if there are too many mats to fit. So, self, check it out. Also, please inventory mats before taking the time to load them into a magazine. After what appeared to be a full font, I discovered I only have one (.). This is a problem. Anyway. Always learning. But never seem to learn that you can never have enough patience for this machine.

Identifying Linotype Spacebands
The spacebands that I have here at the shop are 4 lines. I assumed that the number of identifying lines marked in the side of the spaceband correspond with the thickness of the space. Nope. I was wrong. The breakdown is below. Info from "Linotype Keyboard Operation" book.
One Line: Thick
Minimum .0375
Maximum .1035
For Normal spacing of medium size faces where close spacing is not required.
Two Lines: Extra Thin
Minimum .028
Maximum .0943
For close spacing. Recommended for offices doing good book and job work and those using small faces.
Three Lines: Extra Thick
Minimum .046
Maximum .146
Used only for large display faces where wide spacing is required.
Four Lines: Special Taper
Minimum .0369
Maximum .1219
Similar to the wide range (see below) but a little thicker at both minimum and maximum points.
Five Lines: Wide Range
Minimum .0345
Maximum .1194
Gives extreme flexibility of spacing. Thin enough for close spacing, with ample range of expansion for wide spacing.